Affiliate Disclosure: This post may contain some affiliate links, which means when you click, I get a small percentage of the purchase at no extra cost to you. This allows me to keep this website running, so feel free to click away! You can read my entire Affiliate Disclosure here.

Kombucha is a fermented sweetened tea that has been around for centuries. There are a lot of claims out there that it can treat a wide variety of illnesses, including AIDS, cancer, cardiovascular diseases, and diabetes. There is no good evidence proving that these claims are true, but one thing that is true about this drink is that it is a powerhouse for your gut. Kombucha contains a large number of probiotics due to the fermentation process. Probiotics support your immune system. They absorb nutrients and fight infection and illness.
I used to buy one bottle of kombucha every week as a treat because kombucha is expensive, like $3-$5 per bottle expensive. When I learned that I could make my own kombucha from home for about $0.50 I knew I needed to start brewing it myself. Making your own kombucha is also a great way to cut down on waste. Kombucha bottles sold at the grocery store usually come in a glass bottle with a plastic piece covering the bottle top. Although the glass bottle can be recycled, the plastic piece cannot. While recycling is important, it is more important to reduce the amount that of things that you are throwing away and recycling, and reuse more often. It still takes a lot of resources to recycle something.
I have now been brewing kombucha from home for about a year and I love it so much that I wanted to share how I do it with all of you.
What You Will Need


- Scoby– Scobys are living colonies of bacteria that eats the sugar in the tea to create an acidic and probiotic-rich environment. If you know someone that brews kombucha, they will most likely have an extra one that you can use. If you are like me and don’t know anyone that brews kombucha, you can buy one online. I purchased mine here.
- 1/2-1 cup plain kombucha– The scoby linked above comes with enough brewed kombucha. You will need to purchase a bottle of kombucha from the store if your scoby does not come with enough kombucha.
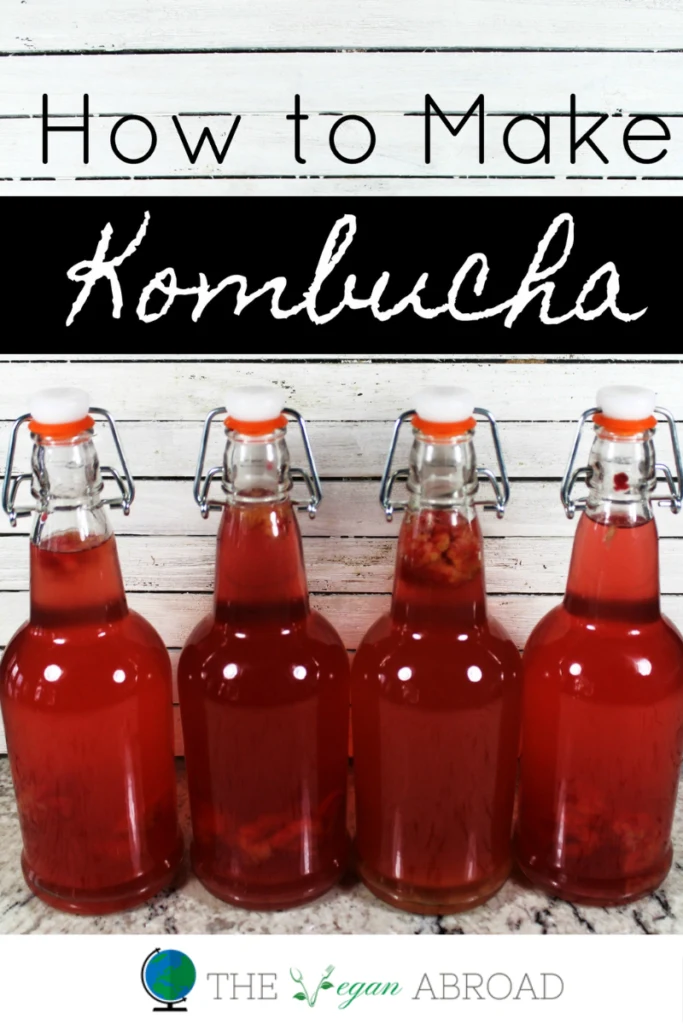
- Kombucha bottles– You will need around 6 15-20 oz glass bottles for every 1 gallon you brew. You can buy kombucha from the store and reuse those bottles. This is what I did for many months, but I found that the kombucha did not get as fizzy as I would like. This is because the bottles don’t have an air-tight lid because they have already been opened. A few months ago I decided to purchase these bottles with rubber gaskets to completely seal the top of the bottle. I highly recommended purchasing those bottles instead of reusing old kombucha bottles from the grocery store if you like a lot of fizz.
- A gallon size wide-mouth glass jar– This is what you will brew the kombucha in. It is important that it is wide-mouth to allow enough air to reach the kombucha. I purchased mine here.
- 4 bags of plain organic tea– it is very important that you use plain tea because flavored tea can ruin your kombucha. Use black, green, white, or whatever your heart desires. Just make sure it is plain. I used green tea the first time that I brewed kombucha, and I still use it today. You can purchase some here.
- Organic cane sugar– You will need 1 cup for the gallon kombucha, and a few teaspoons for your kombucha bottles. You can purchase it here. I purchased mine from the bulk bins at Whole Foods.
- 1 gallon purified water– You can use reverse osmosis, Berkey filter, or another filter/purification system so you won’t have fluoride, chlorine, and toxic heavy metals in your kombucha.
- Flavoring– My favorite is strawberry or raspberry because it tastes delicious and produces the most fizz. Feel free to try different mixtures using different fruits, herbs, etc.
- Medium stainless steel pot– Big enough to boil around 5 cups of water. Available here if you don’t already own one.
- Cheesecloth– I have used the same piece of cheesecloth to cover my brew jar ever since I started making kombucha (I purchased it here). I have read multiple times that you should not use cheesecloth to cover your jar while it is brewing because fruit flies can get inside. I have never had one fruit fly get inside of my jar in my almost 1 year of brewing kombucha. You can also use a piece of thin cotton fabric or double up the cheesecloth fabric if you are concerned about fruit flies getting inside.
- White vinegar– This is to sterilize your bottles and brew jar.
- Rubberband- I actually don’t own a rubber band, so I reused an old hair tie that is really stretched out.
Basic Kombucha Recipe
- Wash your brew jar with soap and hot water, swish the white vinegar around the jar, and rinse clean with hot water.


2. Boil around 5 cups of purified water in the stainless steel pot. Once boiling, add the tea bags and boil for 5 minutes. Stir frequently with the wooden spoon. Remove the tea bags (preferrable composting them), and add the 1 cup of organic cane sugar to the tea in the pot. Stir until the sugar is completely dissolved, and then remove from heat.

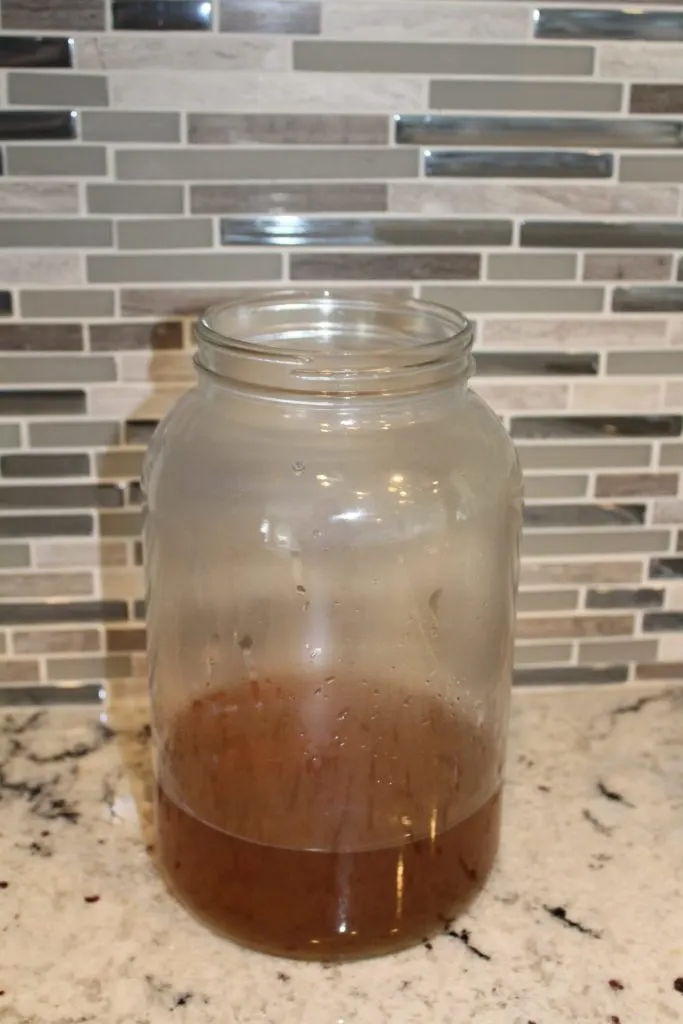
3. Add the tea to the brew jar once it has cooled down a bit. Fill the rest of the jar with purified water. Make sure to leave some room at the top for the kombucha and scoby.


4. Add in the kombucha and stir with a spoon once the tea is at room temperature. It is very important that the tea is room temperature before placing your scoby in the jar. Hot tea can kill your scoby. Place your scoby on the top of the tea/kombucha mixture. Cover the jar with cheesecloth, fabric, etc and make it secure with a rubber band.
5. Now it is time to wait. I normally let my kombucha brew for around 14 days, but that is because I prefer my kombucha fizzier and more vinegary. If you prefer it sweeter, start checking around 10 days until your desired sweetness/fizziness is achieved. To test the kombucha, place a straw in the jar under the scoby and take a sip. If you are happy with how it tastes, it is time for the second ferment.

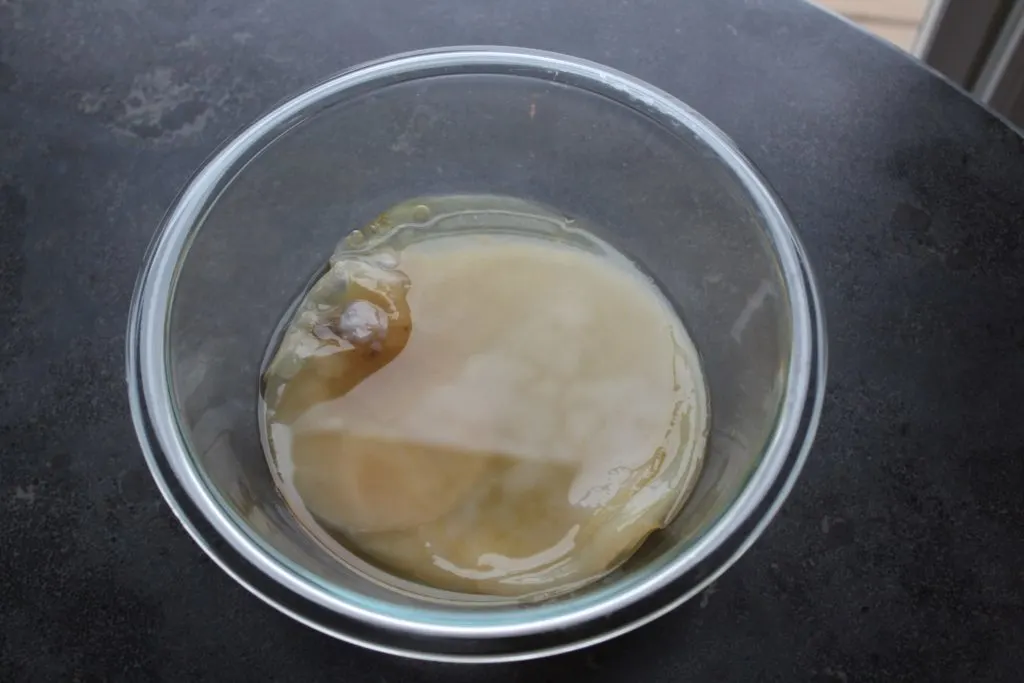
6. With clean hands, remove the scoby and about 1 cup of the kombucha and place in a bowl. This is what you will save for your next batch of kombucha.
7. Wash your kombucha bottles with soap and hot water, swish with white vinegar around the jar, and rinse clean with hot water.


8. Place your flavorings of choice in each kombucha bottle along with 1 tsp of cane sugar in each bottle.


9. Using a funnel, pour the kombucha into each bottle and seal the lid. You want to leave as little space as possible at the top of each bottle because the less air, the fizzier it gets.
10. The bottles only need to ferment for around 3 days. Then they can be moved to the refrigerator and are ready to drink.
Although this may seem like a lot of steps, I promise Kombucha really is easy to make.

